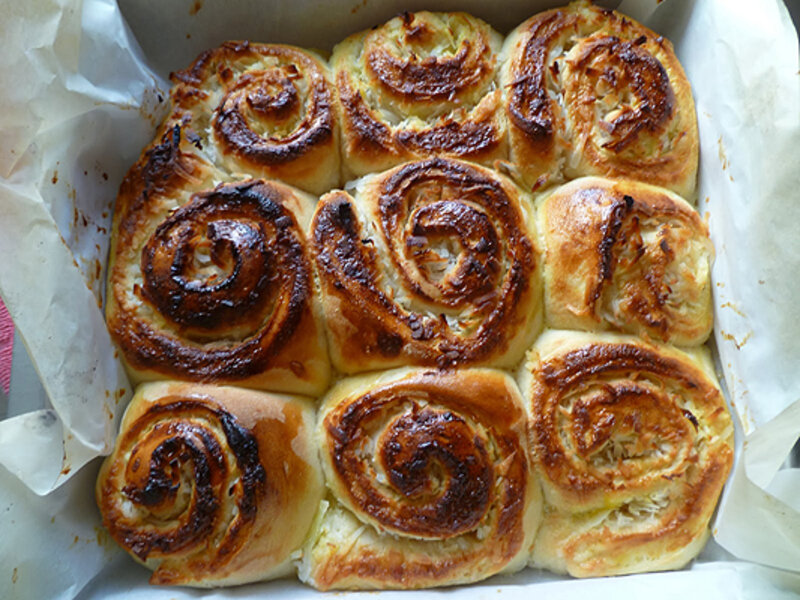
Coconut pull apart rolls
Loading...
The stars finally aligned over President's Day weekend and I had both enough time and yeast to make these coconut rolls work.
I don't make bread that often and certainly not often enough to be that good at it. I remember from when I made it in culinary school, but back then I was also taught by my favorite chef instructor who'd apprenticed to become a baker when he was 16 and living in Germany. The man could bake bread like no tomorrow. He taught me how to be able to tell when the gluten had developed enough in kneading (when it's elastic enough to stretch and make a "window pane" without breaking), when dough hadn't been beaten enough, or been beaten too much, and what the consequences would be.
Unfortunately, in the years since then, I haven't retained as much bread-baking knowledge as I could wish. When I only have time to bake nights and weekends, breads aren't high on my list of things to make, partly because of the time constraints and partly because I have less of a stop mechanism when it comes to good bread as I do with sweets.
But I'm glad I finally got to make these coconut rolls. The dough itself was easy enough: throw all the ingredients in the mixing bowl and let the dough hook do its job. My only moment of pause was knowing when it had been kneaded enough. It didn't pass the window pane test but it looked OK: elastic, came together, good doughy consistency. And it rose well enough in the second rising when you actually shape the dough into a log and cut into pieces.
You want to make the filling while the dough is in its first rising to give it enough time to cool before you spread it over the dough. My filling did thicken slightly as I boiled it but it was runny enough that after I spread it over the rectangle of dough, rolled it up, sliced it and arranged the slices in the pan, the liquid leaked out and by the time the rolls had risen and were ready to bake, I could see a layer of liquid at the bottom of the pan.
Fortunately, the liquid absorbed back into the rolls as they baked and the finished product was bread dough slightly tacky on the bottom but not wet or mushy. The bread part of the roll was pretty good but my favorite was the coconut filling. The only thing I would do differently next time is make more filling and add a lot more coconut. Still, this one's a keeper. The coconut filling adds the sweetness so that you don't need to do a glaze. If you do decide to up the decadence level, then I would do just a simple royal icing-type of glaze and sprinkle the top with flaked coconut. These are best eaten warm.
Coconut pull apart rolls
From Not Quite Nigella
Dough:
1/2 cup milk
1 egg
2 cups bread flour
1/2 teaspoon salt
1 ounce butter
2 tablespoons sugar
2 teaspoons yeast
Filling:
1/3 cup sugar
1/4 cup milk
3/4 cup coconut flakes
1 beaten egg to brush the rolls
1. In the bowl of an electric mixer fitted with a dough hook, mix all of the dough ingredients until elastic (about 4-5 minutes using a dough hook, 6-8 minutes if kneading by hand). Place in a warm area for 1-2 hours until doubled in size.
2. In the meantime, mix the ingredients of the filling and cook in low heat until a slightly creamy sauce. Do not overcook. Cool.
3. Grease a large loaf tin with oil. Knock the dough back by punching it with your fist and roll it open to a rectangle of approximately 1/3 to 1/2-inch thick. Spread the coconut filling on top of the dough. Roll it and cut into 16 pieces. Place the rolls in the greased loaf pan and let it rise in a warm place for approximately 30 minutes until they look snugly fitted together.
4. Bake in a 440 degree F. oven for 15-20 minutes.


