Fall is perfect for a DIY water garden in a container
Loading...
It seems counterintuitive — just when you’re starting to put your garden to bed for the winter — but now is the time to consider a small water feature project for next year.
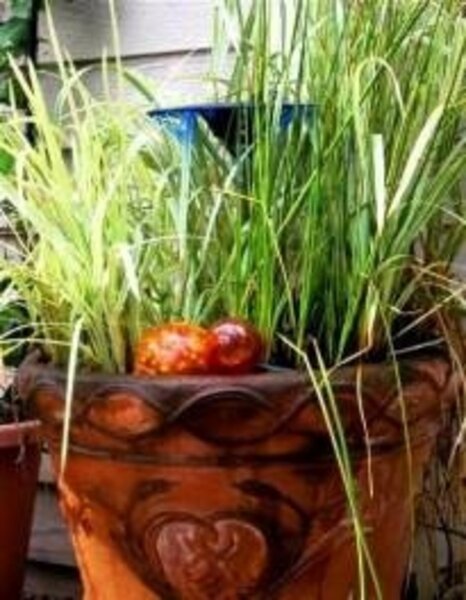
In my own garden, I have several large containers full of water plants. The ones near an electrical source have a pump and the sound of softly splashing water attracts both birds and people.
Others out in the garden are simply collections of plants that will live with their feet wet. I fill these pots with a hose to overflowing every few days, which washes any incipient mosquito larvae right over the sides. The best thing about these small water features is their easy care and dramatic presence as focal points in my garden.
Here’s an idea for a simple DIY project that you can collect the materials for now, store for winter, and be ready to add water and plants in the spring.
The autumn season has the best prices. Merchants don’t want to carry over inventory, so you get the discount for delayed gratification until spring. The bargains are usually local, but sometimes found on the Internet. I once bought an enormous cobalt-blue container I’d been admiring all summer at a nearby nursery for half price — the autumn day it went on sale.
Good pot hunting
I like containers that are 24 inches across and at least as deep, if not deeper. I have used every material from rock-solid concrete to lightweight faux terra cotta. I don’t bring mine in for the winter because in my Zone 7 garden, we rarely have prolonged freezes, but I do pull the pumps.
I’ve bought pots without holes – usually there’s an indentation where you can drill for drainage, but, of course, I don’t. Also look for a line of thick-walled plastic containers that comes sealed with a plug. Perfect.
There’s a hole in the bucket
But what if the vessel you want has holes already? Here’s a method I use for sealing any container: With a single hole, I use a cheap plastic flat-bottom plate, like those you’d throw away at picnics. I cut the rising sides off with strong scissors, leaving a flat round and glue it into place with a generous circle of silicone aquarium sealer — the kind that glues glass to metal in fish tanks.
My friend Deanna uses flat rubber sink plugs. She just puts a large rock over them, but I would add a ring of aquarium adhesive for extra security.
If the container has many holes in the bottom, I cut a circle of thick black plastic pond liner, which is usually used for larger water projects — sometimes my local home and garden store has leftover bits they will give me — but any piece of flexible heavy-duty plastic (stronger than a garbage bag) will do. The unpunctured bottom of a children’s blow-up wading pool would also work.
I generously squeeze the silicone aquarium adhesive around each hole and press the liner in place, running my finger around each opening, to ensure a good seal. After the glue dries, I fill with a small amount of water and check for leaks.
Unless I’m sinking a pot in the ground, I don’t like lining the whole thing with plastic. I never can find a crafty way to deal with the top edges — looks ugly to see the black liner — and I’m always concerned that water will leak down between the plastic and the container wall.
Raise the plants up high
To make plant shelves inside the container, I use black gallon-size — or bigger — cans turned upside down, resting on the bottom. If they’re not quite the right height, they can be cut down with shears, or elevated with bricks so you’ll have the perfect water level for your future plants— submerged, but not too deep.
For now, gather suitable bricks and cans and store with your container — you can customize them in spring when you add the plants. This fall, the price of deferring your tiny pond pleasure is a good deal.
Mary-Kate Mackey, co-author of Sunset’s Secret Gardens — 153 Design Tips from the Pros and contributor to the Sunset Western Garden Book, writes a monthly column for the Hartley Greenhouse webpage and numerous articles for Fine Gardening, Sunset, and other magazines. She teaches at the University of Oregon’s School of Journalism & Communication. She will be writing about water in the garden for Diggin’ It.
Editor’s note: To read more by Mary-Kate, check our blog archive. Gardening articles on a variety of topics can be found at the Monitor’s main gardening page. Also see our RSS feed. You may want to visit Gardening With the Monitor on Flickr. Take part in the discussions and get answers to your gardening questions. If you join the group (it’s free), you can upload your garden photos and enter our next contest.


