How to grow a gardener
It’s easy to interest children in gardening during the summer, but when weather limits outdoor playtime, you might try these engaging indoor gardening projects with kids.
Eggshell eggheads – with green hair
This project combines creativity with near-instant gratification. And then there’s the silliness factor, which kids always enjoy.
Crack raw eggs near the top, leaving an opening about the diameter of a quarter. Pour out the yolks and whites (don’t waste them!). Rinse out the eggshells, and let them dry. Using nontoxic markers, stickers, and even googly eyes, young artists can turn the eggshells into “people.”
Using egg cups (or overturned bottle caps) as stands, fill the eggshells with sterile seed-starting potting mix, sprinkle rye or radish seeds on top of the soil, then moisten the soil with a gentle spray of water. Keep the eggshells in a warm area, covered with an overturned plastic bag. Mist daily. In a few days the seeds will sprout, providing green “hair” for the eggshell people. As the hair grows, children can trim it – even give one a mohawk. Eventually the grass will outgrow the eggshell, and then you can toss the whole project into the compost bin (minus the googly eyes) and start anew.
Veggies from scraps
In a matter of days, you can grow enough lettuce for a small salad in a glass of water on the windowsill.
First, slice the bottom inch or two off a fresh head of romaine or bibb lettuce. Pour an inch of water in a glass or clear bowl and put the stem upright in it. Change the water daily. Within three to five days, you can expect to see a dramatic growth of fresh, dark green leaves. A couple of days after that, your child should be able to harvest leaves for a salad.
As you snip off the new leaves, more will grow until the stem finally stops putting out new growth.
The root ends of green onions, leeks, and fennel will also grow this way. Celery root stems (cut off the bottom two inches of an intact bunch) may also be started in water. Once roots form it must be transplanted to a pot with soil, as celery needs moist, not wet, conditions.
Forcing bulbs in water
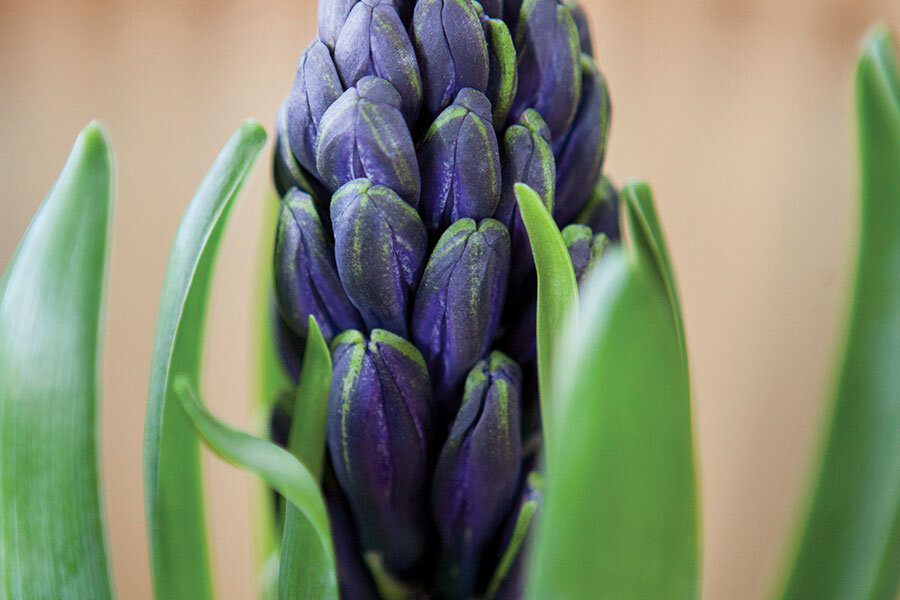
The wonderful perfume and beautiful colors of hyacinths are ample reasons to force them in winter. But it’s also fascinating to watch the roots, leaves, and blossom emerge from a bare bulb. The simplest method is to use a hyacinth jar, an hourglass-shaped vase with an upper part for the bulb and a lower section for the water and roots. I suggest you start with pre-cooled bulbs from a florist or garden-supply store. Ask for “hyacinth bulbs for forcing.” These bulbs have been cooled for a period to imitate winter, so they’re ready to grow. You can pre-cool bulbs at home by putting them in the vegetable drawer of your refrigerator for eight to 14 weeks. (Do not store them with ripening fruit since that damages the bulbs.)
Place the bulb in the top of the hyacinth jar, and fill the bottom with water up to – but not touching – the bottom of the bulb. (If it touches the water, it will rot.) Keep the bulb and jar in a cool place (a cool cellar works well) until a good root system develops and growth has begun from the top. Keep the water level close to the base of the bulb. When the shoots are a couple of inches tall, move the bulb to a warmer room.
Succulent garden ‘miniworld’
This is a better project for an older child, with adult supervision. Succulents, those fleshy-leaved plants with distinctive shapes and colors, provide endless opportunities for creativity. Planted in shallow containers, they can be combined with shells, pebbles, sea glass, even miniature animal figurines to create fanciful miniature worlds. Succulents need at least six hours of sunlight daily, water once every couple of weeks in the winter, and good drainage. Initially, instead of focusing on having a variety of colors, start with the green ones and go for a variety of shapes. This makes for a hardier indoor succulent garden.


